Publishing your board
Learn how to customize layouts, add image or text elements, and share your work with made-ready templates.
While shared boards are great for quick sharing, Publish a board instantly transform it into a polished, public-facing webpage. Perfect way to showcase a portfolio, host a brand kit, or share a public resource.
Step 1: Prepare your board
Open the board you want to publish, and ensure your board is organized. This includes updating the board name, a helpful description, and hide any asset you don't want public visitors to see.
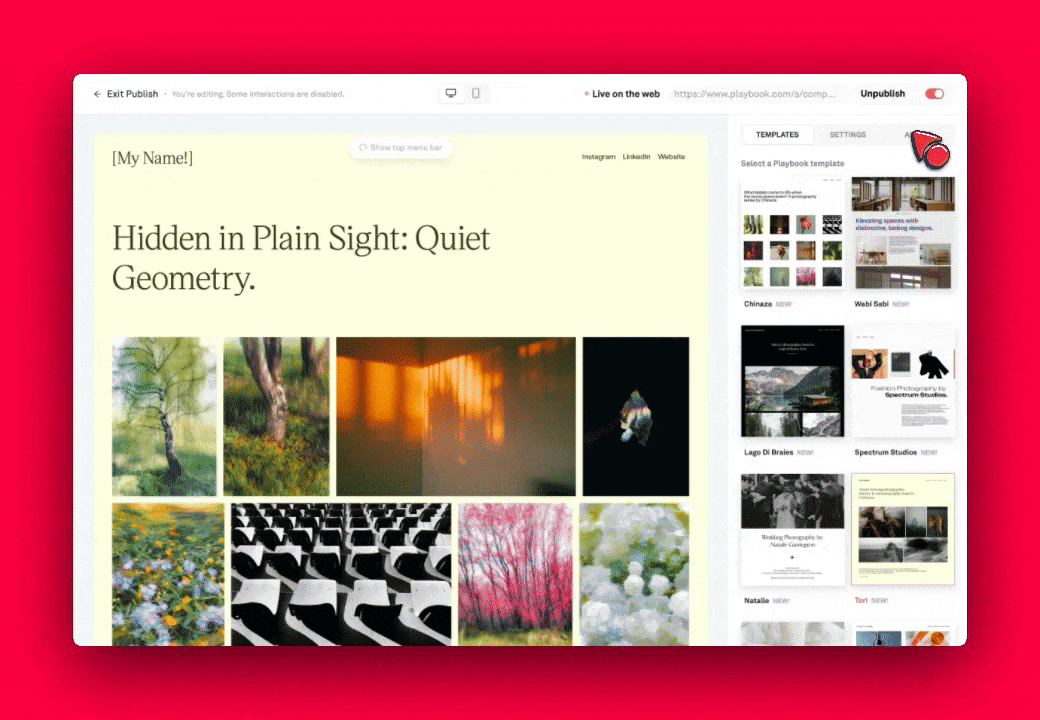
Step 2: Select a template and hit Publish
Click the Publish button in the top header → In the sidebar, pick your favorite template → toggle ON to enable the link.
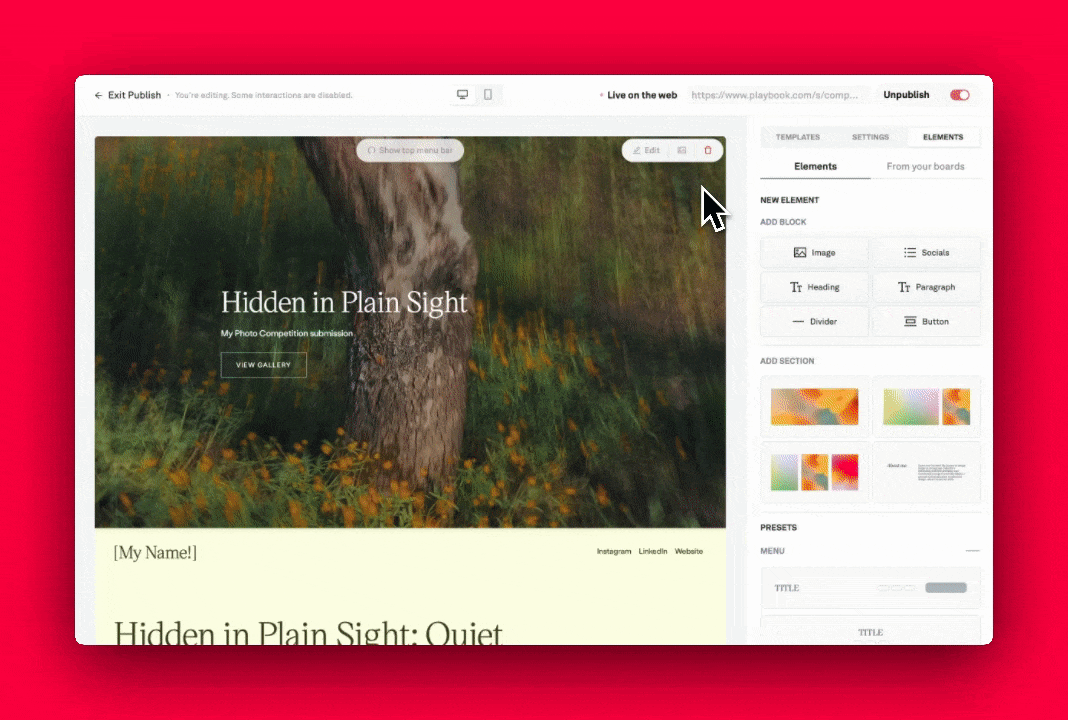
Step 3: Enter the Publish editor
For further customizations beyond the basic layouts, you can fine-tune ever detail of your published page and it will automatically reflect without resharing your link. Here's how to open Publish editor:
- Click Publish button in the top header → select Edit site in the sidebar
- Open the Settings tab in the right-hand sidebar to change typography and background colors.
- Open the Elements tab to drag in new elements like text block, image block or new section.
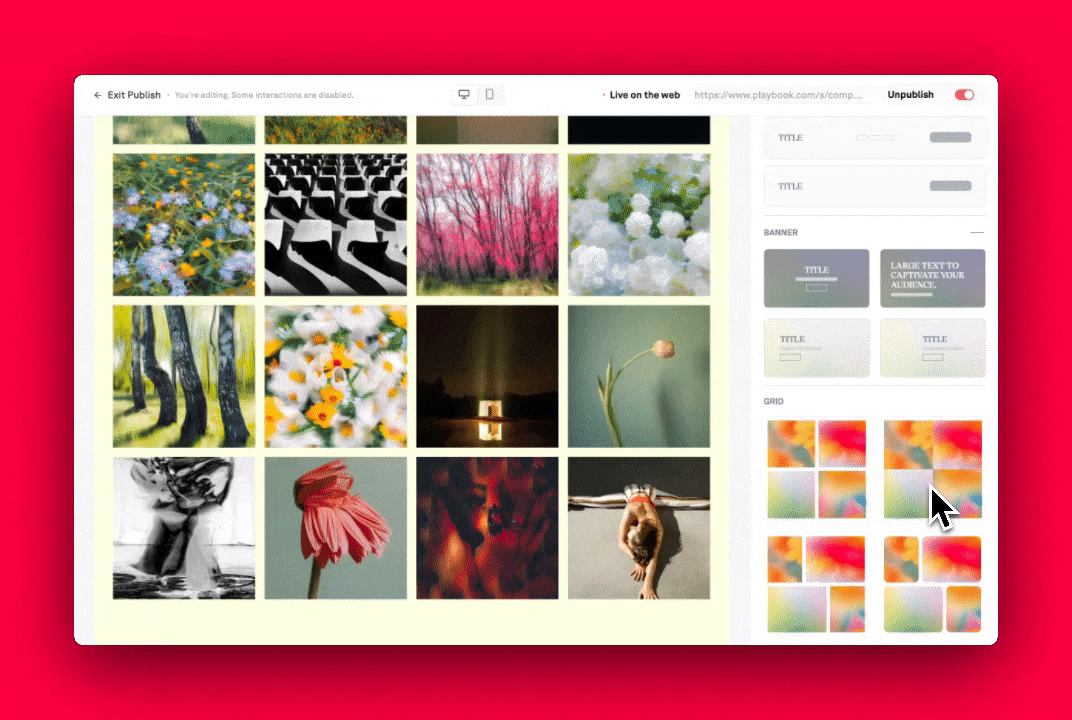
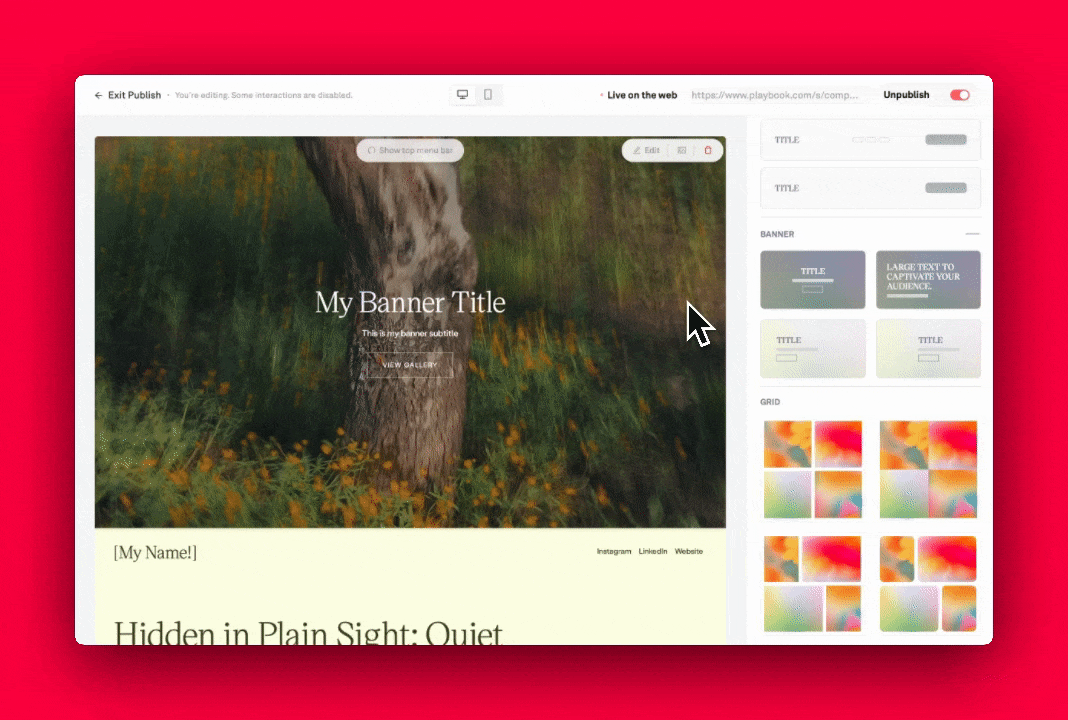
Step 4: Use presets to adjust main components
Under the Elements tab in the right-hand sidebar, you can find presets for main components like Menu, Banner, and Grid. These presets allow you to quickly apply style and assets display across the entire page.
Step 5: Customize specific sections
Hover your mouse over any section or component on your page → Click Edit button to see more customization options for that exact element.
Ta-da! We can't wait to see what you come up with.
Once published, any changes you made to the internal board (i.e. upload/remove assets, adjust published layout,...) will automatically reflect on the public page in real-time. You never have to worry about updating the link or resharing new one.